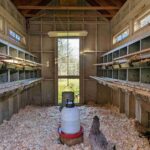
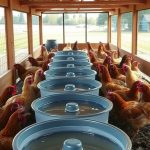
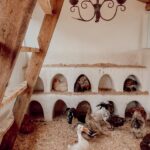
Winter chicken coop ideas should make daily care easier while protecting the flock from wet conditions and direct wind.
Coops often need more attention once snow, shorter days, and freezing water become part of the routine. Exposed runs, damp bedding, and awkward access can turn small maintenance jobs into recurring problems.
A thoughtful setup keeps walking routes clear, provides sheltered space, and makes waterers and feeders easy to reach. Exterior finishes and a few decorative details can also help the coop feel connected to the rest of the garden.
Options range from temporary windbreaks to more substantial covered runs. The right approach depends on the existing structure, local weather, and how much work you want to take on.
These 15 Winter Chicken Coop Ideas With Practical Setup Tips offer different ways to organize and improve your space before the coldest weather arrives.
Before you begin: Windbreaks must preserve ventilation, and clear enclosures need monitoring for condensation and overheating. Roof shape alone does not establish snow-load capacity. Heat lamps pose fire risks, especially near plastic and bedding. The budgets and times below are supplied planning estimates for individual updates, not complete coop builds or current retail quotes.
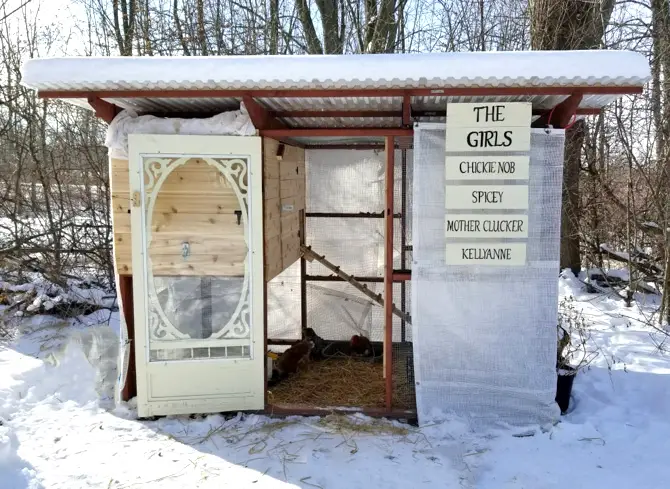
Plastic Sheeting Windbreak and Repurposed Screen Door
- Difficulty: Easy
- Time: 1 to 2 hours
- Budget: Under $50
- Materials: Woven plastic sheeting, staple gun, salvaged screen door, and straw bales
- Coop: Wooden lean to structure with a corrugated metal roof
- Winterized with: Translucent woven plastic sheeting, a salvaged ornate screen door, and thick straw bedding
- Exterior detail: A white vertical wooden sign listing the flock names
Clear plastic panels wrap around the wire run to block freezing winds while letting sunlight inside. Heavy straw covers the ground floor to insulate the birds from the snow outside.
A repurposed vintage screen door creates a secure entrance for daily feeding. White wooden boards hang on the front mesh to display the hens’ names in bold black letters.
Deep Pine Shavings Litter and Elevated Waterer
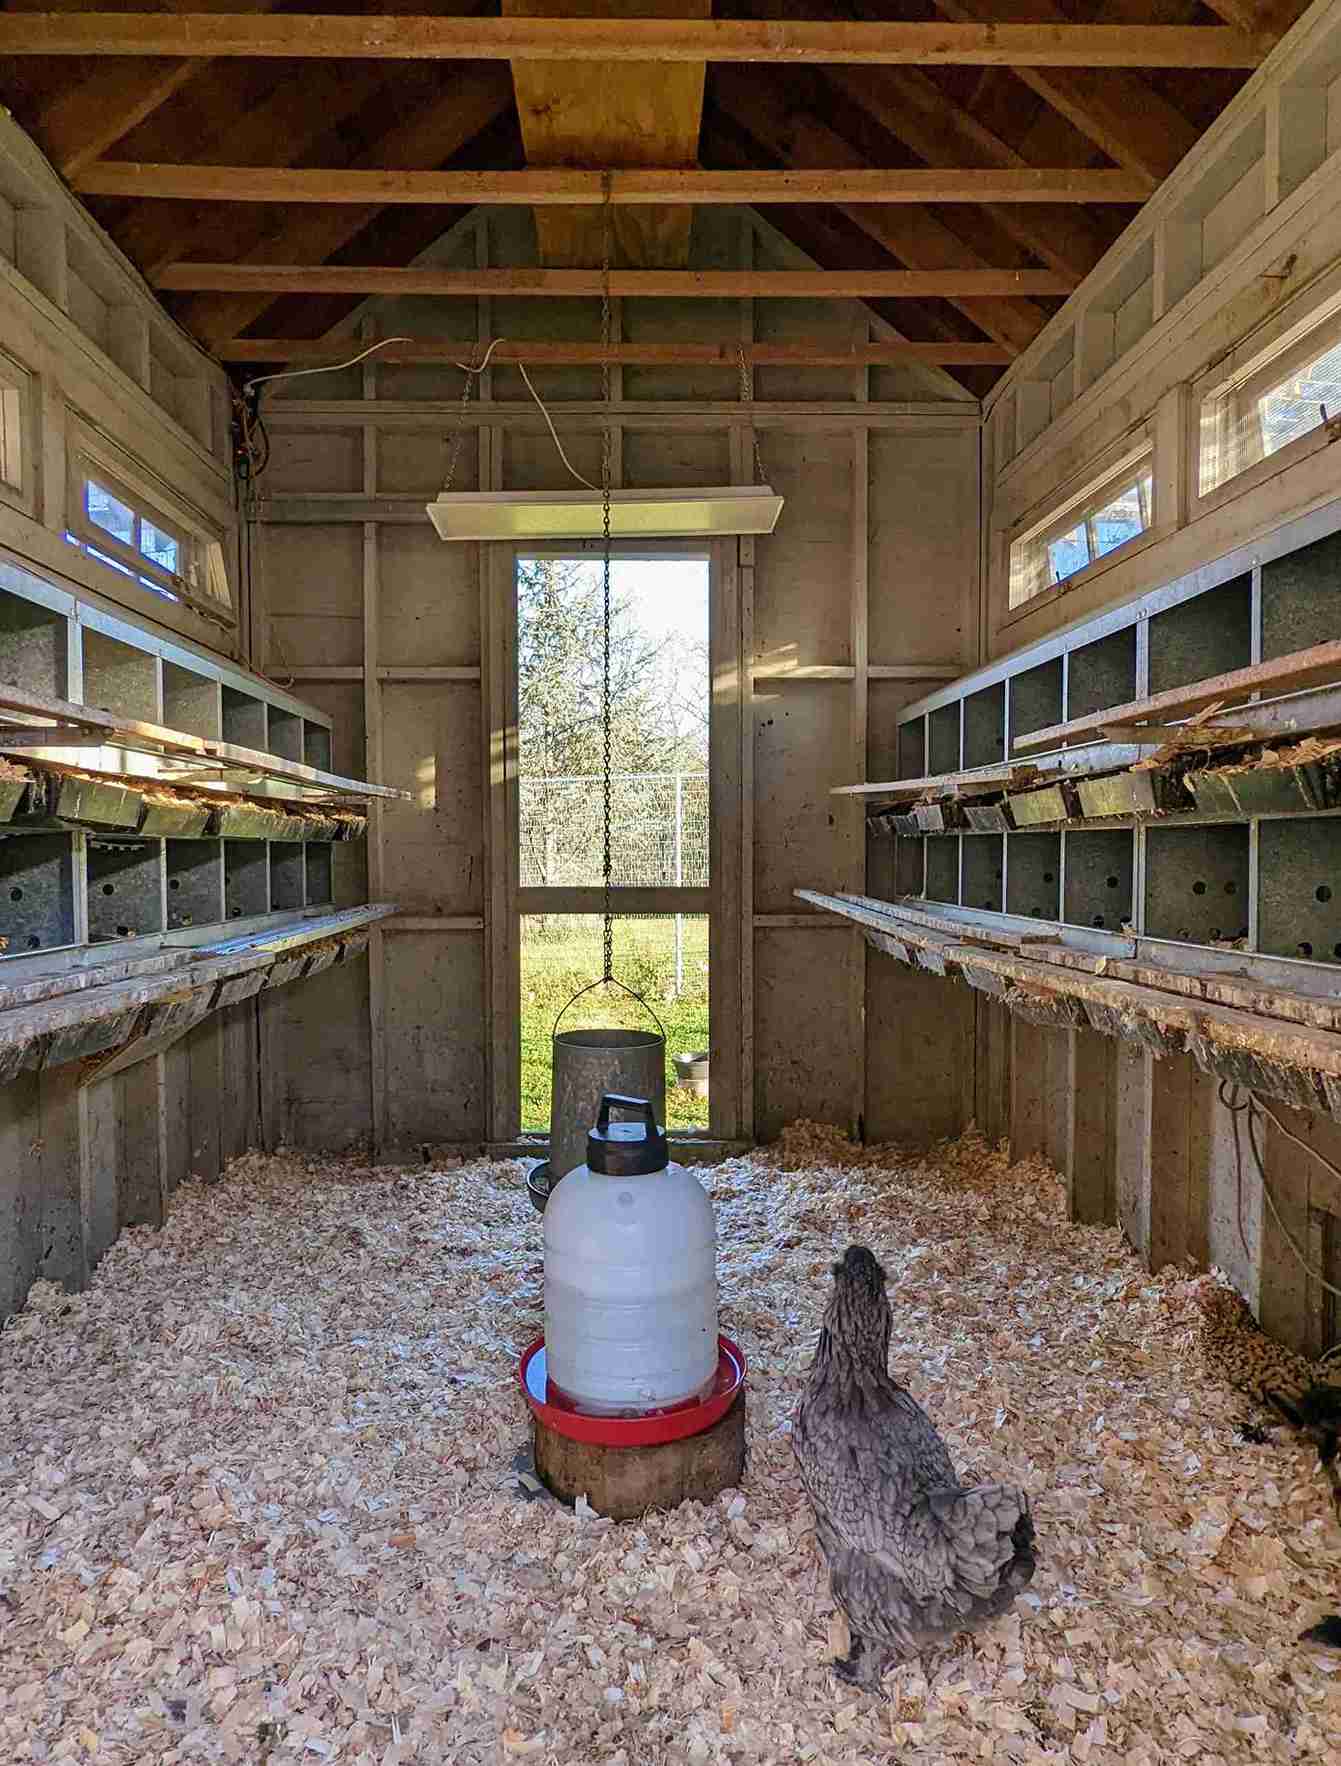
- Difficulty: Easy
- Time: 1 hour
- Budget: Under $40
- Materials: Pine wood shavings, wooden log slice, and plastic poultry waterer
- Coop: Walk in wooden shed with metal nesting boxes and upper clerestory windows
- Winterized with: Thick pine shaving floor bedding, raised log base for water, and overhead lighting
- Interior detail: Hanging metal feeder suspended from the rafters
Thick pine shavings cover the entire coop floor to trap warmth and absorb moisture. Setting the waterer on a sturdy wood block keeps clean drinking water free from kicked bedding.
Upper windows allow bright natural daylight to enter while keeping drafts high above the flock. An overhead light fixture brightens the space during short winter afternoons.
Clear Vinyl Run Wrap and Storm Windows
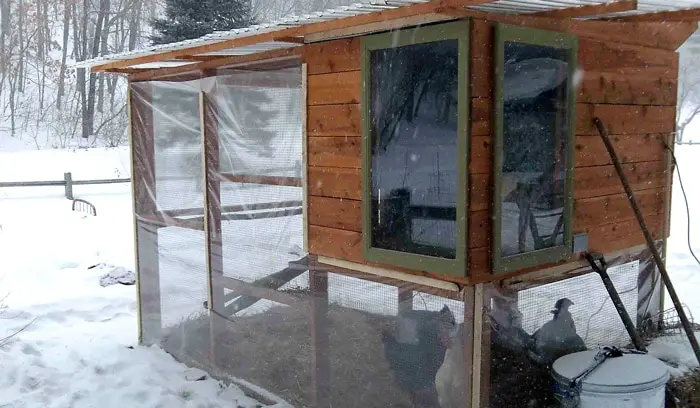
- Difficulty: Moderate
- Time: 2 to 3 hours
- Budget: $50 to $100
- Materials: Heavy duty clear vinyl sheeting, wood trim strips, screws, and framed glass windows
- Coop: Elevated cedar coop with an attached covered wire run
- Winterized with: Full clear vinyl enclosure around the run and large green framed glass windows
- Exterior detail: Metal feed storage bucket and snow shovel beside the run
Transparent vinyl sheets seal the lower wire run against blowing snow while creating a warm greenhouse effect. Wood furring strips hold the plastic taut against the frame during heavy gusts.
Large framed windows on the elevated house let hens watch the yard while staying warm inside. Snow slides easily off the sloped corrugated metal roof.
Stacked Straw Bale Windbreak Wall
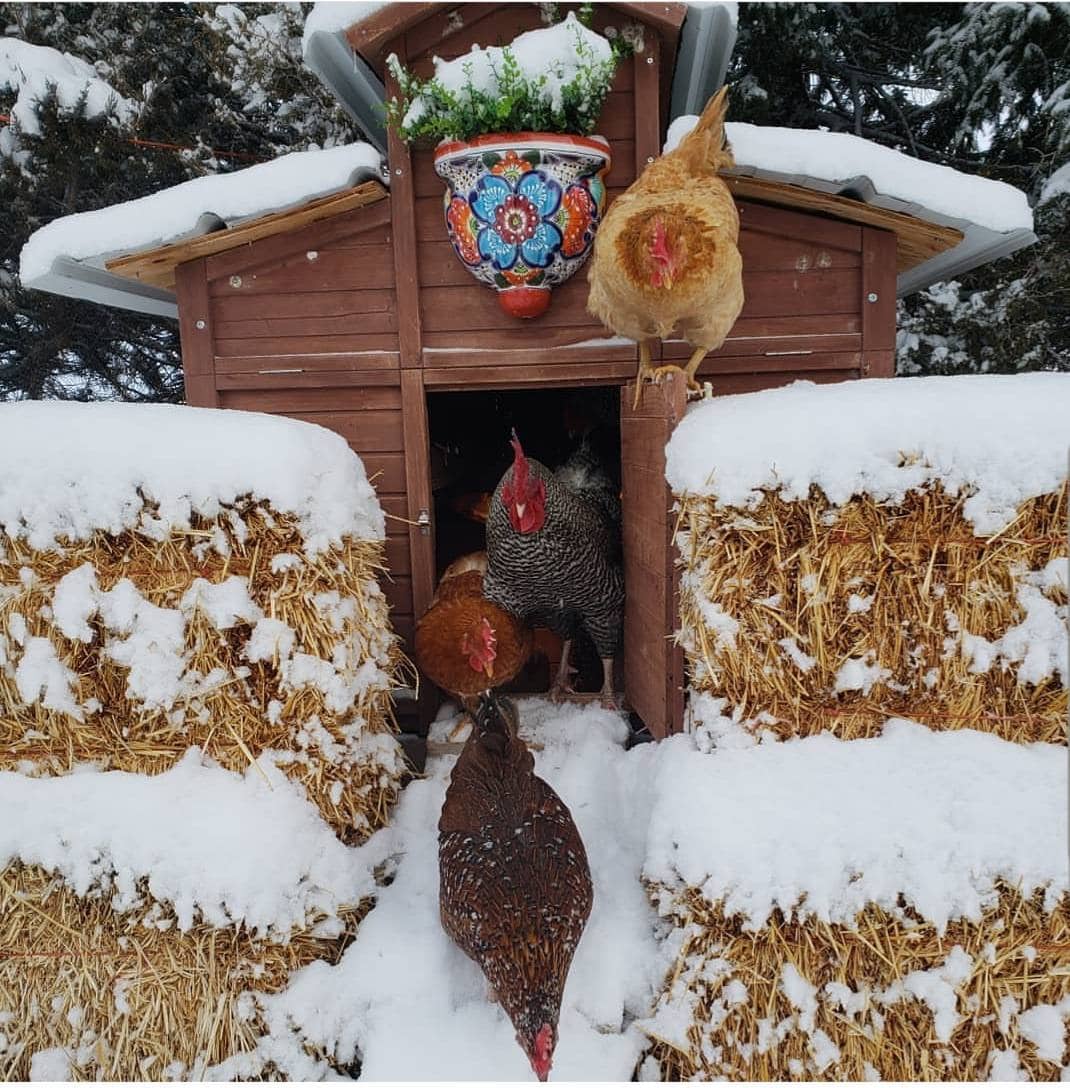
- Difficulty: Easy
- Time: 30 minutes
- Budget: Under $30
- Materials: Rectangular straw bales
- Coop: Compact dark brown wooden coop with a shingled gable roof
- Winterized with: Stacked straw bales flanking the main doorway to block ground drafts
- Exterior detail: Colorful floral wall planter mounted above the coop entrance
Stacking dense straw bales around the exterior base adds an instant layer of thermal insulation. Bales block freezing winds from whipping directly into the open pop door.
Hens gain a sheltered walkway when stepping outside into the deep snow. A bright ceramic planter adds cheerful color against the brown wood siding.
Heated Water Base and Straw Run Bedding
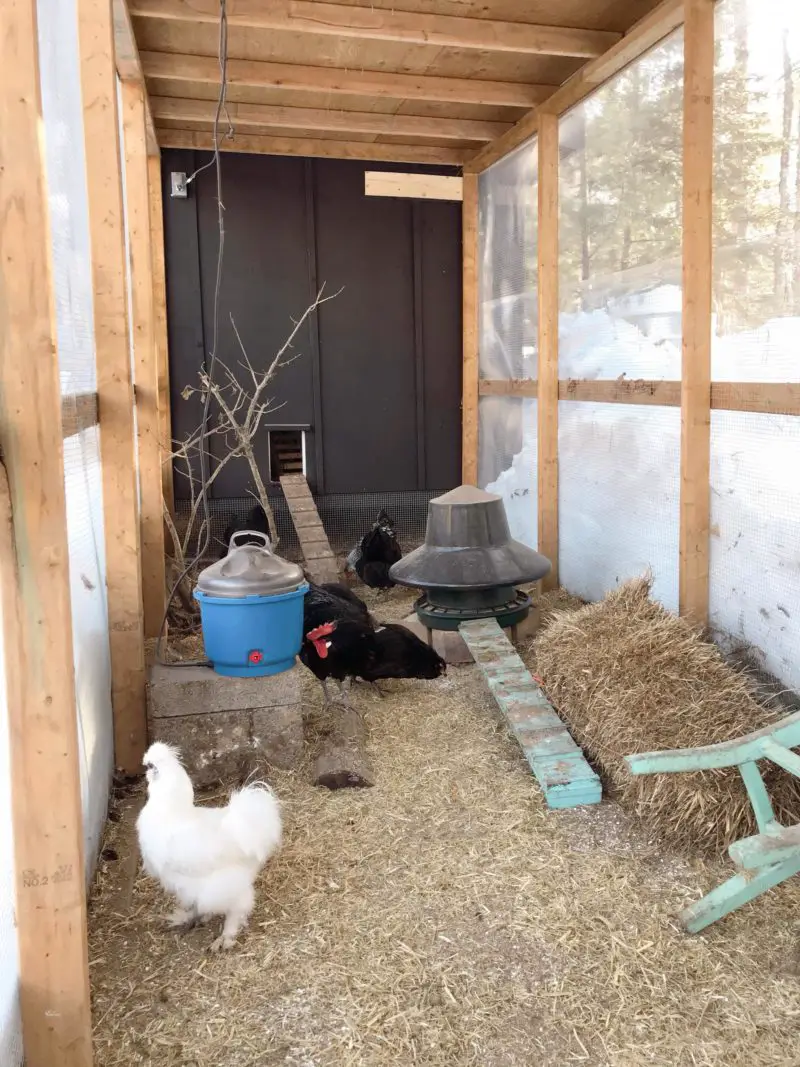
- Difficulty: Easy
- Time: 1 hour
- Budget: $40 to $75
- Materials: Heated poultry waterer, cinder blocks, straw bales, and clear plastic sheeting
- Coop: Covered wooden run attached to a dark paneled coop house
- Winterized with: Electric heated waterer on blocks, loose straw flooring, and plastic wrapped walls
- Interior detail: Bare tree branches and a painted wooden ladder for winter enrichment
Elevating a heated blue waterer on cinder blocks prevents liquid from freezing in subzero weather. Loose straw blankets the cold ground so birds can scratch comfortably.
Plastic sheeting encloses the wooden run frame to stop snowdrifts from piling inside. Fallen branches and a rustic ramp keep active hens entertained indoors.
Insulated Shed Coop with Festive Wreaths
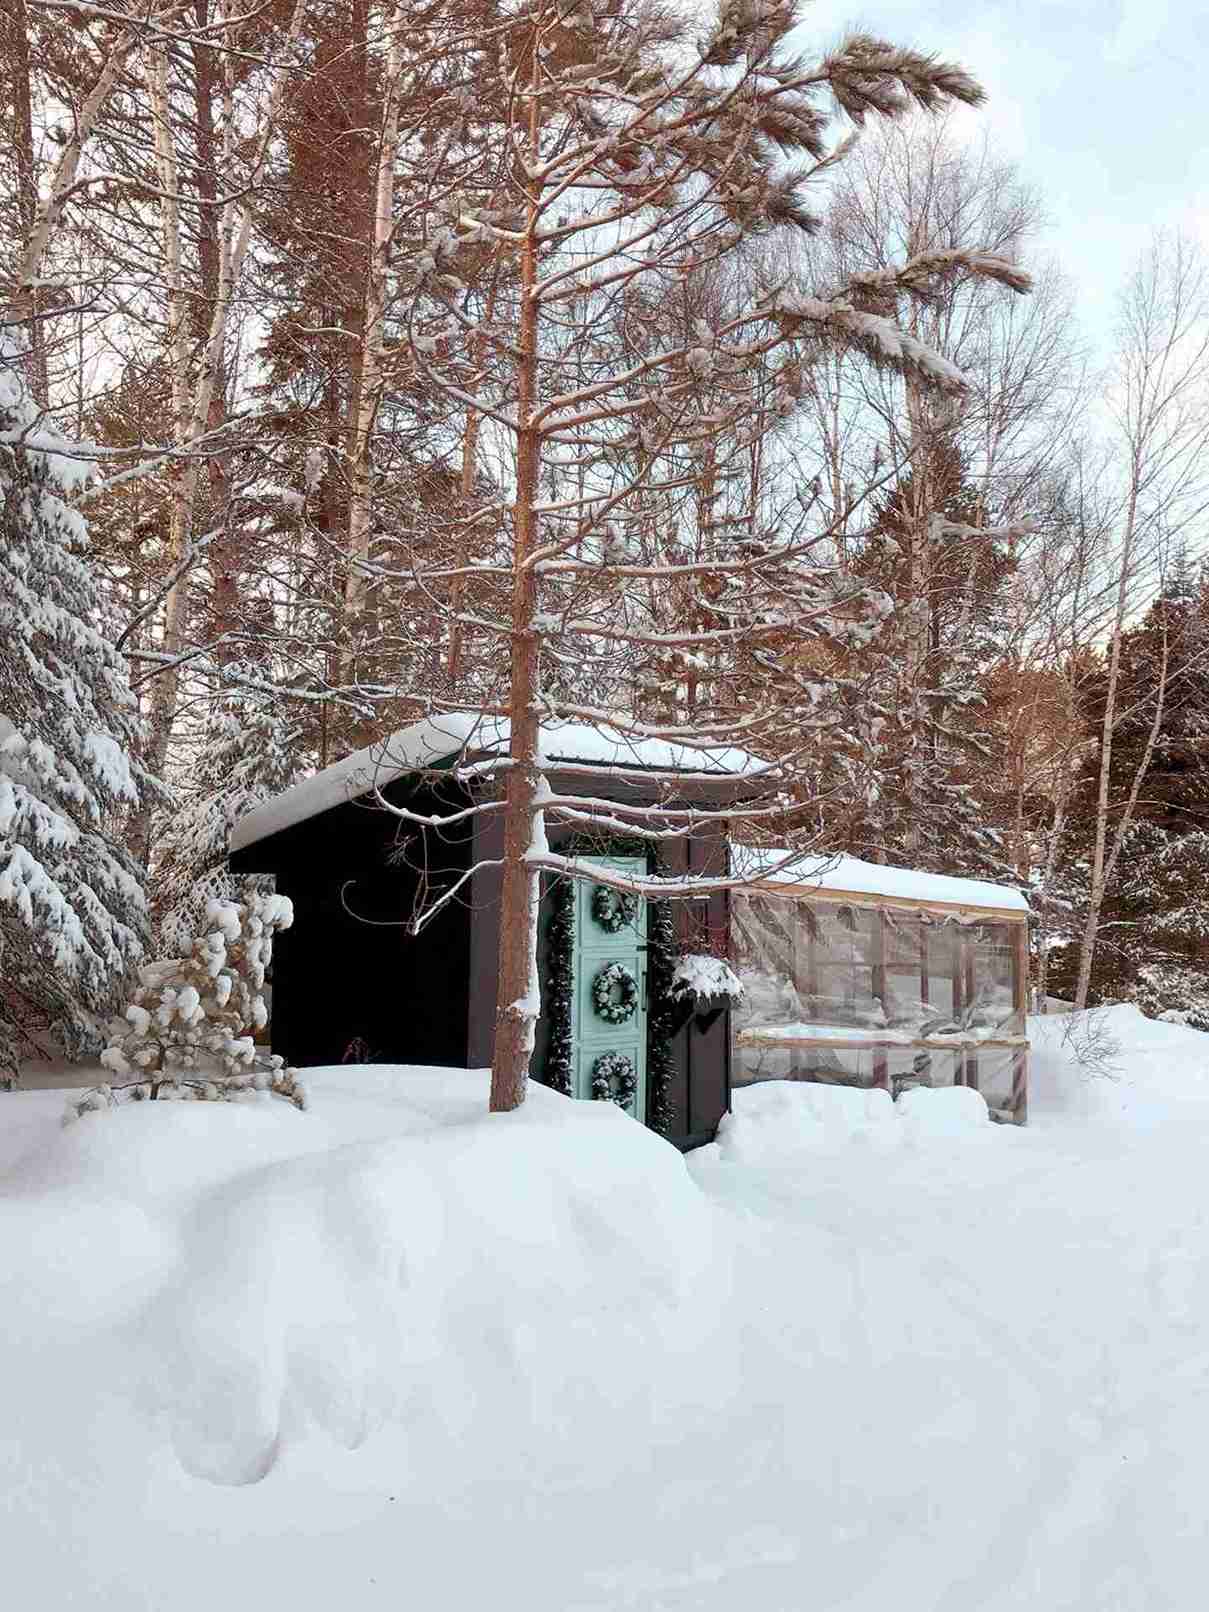
- Difficulty: Moderate
- Time: 2 to 3 hours
- Budget: $60 to $120
- Materials: Clear plastic sheeting, wood trim, staples, and evergreen wreaths
- Coop: Dark painted shed style coop with a mint green entry door
- Winterized with: Fully enclosed plastic covered run and solid windproof shed walls
- Exterior detail: Three mini evergreen wreaths and garland framing the mint door
Dark exterior siding absorbs winter sun rays to help warm the solid wooden coop structure. Clear plastic wraps the adjoining run to provide a snow free outdoor space.
Three small wreaths hang down the center of the mint green door for holiday charm. Deep snow surrounds the structure while the interior stays dry and draft free.
Red Barn Coop with Wrapped Wire Run
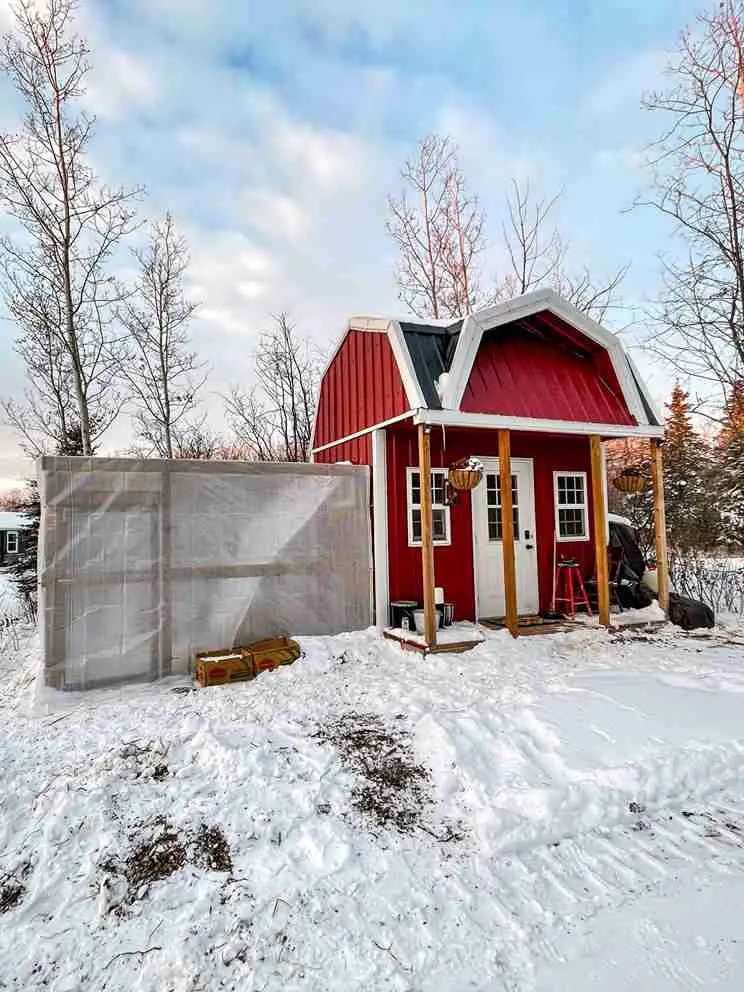
- Difficulty: Moderate
- Time: 2 hours
- Budget: $50 to $90
- Materials: Translucent plastic sheeting, wood battens, and staples
- Coop: Gambrel roof red barn coop with white trim and front porch
- Winterized with: Complete translucent plastic wrap covering the tall side run
- Exterior detail: Covered front porch with hanging baskets and white grid windows
Wrapping the tall side pen in translucent plastic shields the flock from biting winter winds. Diffused daylight still filters through the wrap to keep the run bright.
A covered front porch keeps snow away from the main human entry door. Classic red and white barn styling stands out sharply against the snowy yard.
Corrugated Polycarbonate Greenhouse Run
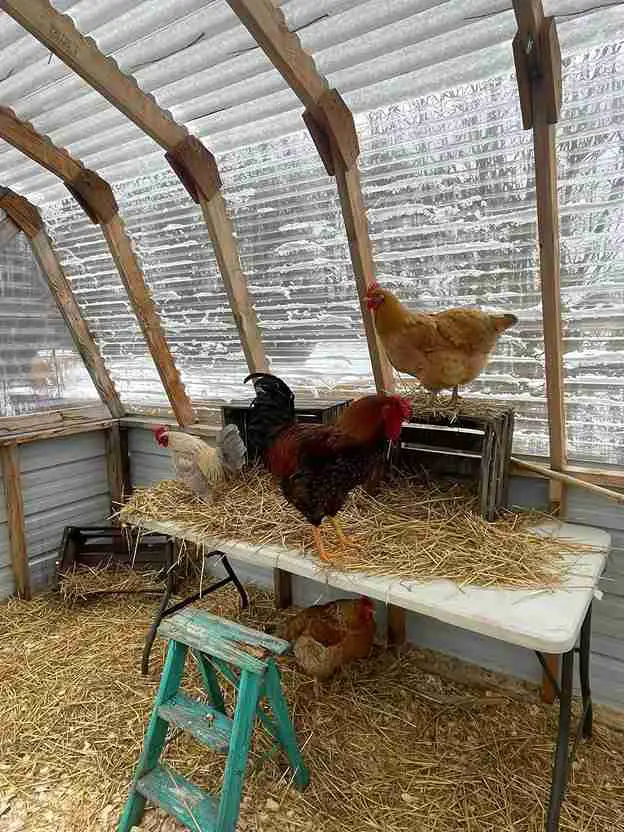
- Difficulty: Advanced
- Time: 4 to 6 hours
- Budget: $150 to $250
- Materials: Clear corrugated polycarbonate panels, wood framing, screws, folding table, and wooden crates
- Coop: Arched wood frame enclosure with corrugated plastic walls and roof
- Winterized with: Rigid clear polycarbonate panels trapping solar heat inside the run
- Interior detail: Straw covered folding table, wooden crates, and a teal step stool
Rigid corrugated panels turn the entire chicken run into a warm winter sunroom. Sunlight heats the trapped air while clear walls block every gust of wind.
A folding table topped with straw and wooden crates gives hens elevated roosting spots. An old teal step stool offers easy climbing access for smaller birds.
Metal Frame Run with Tarp Roof Cover
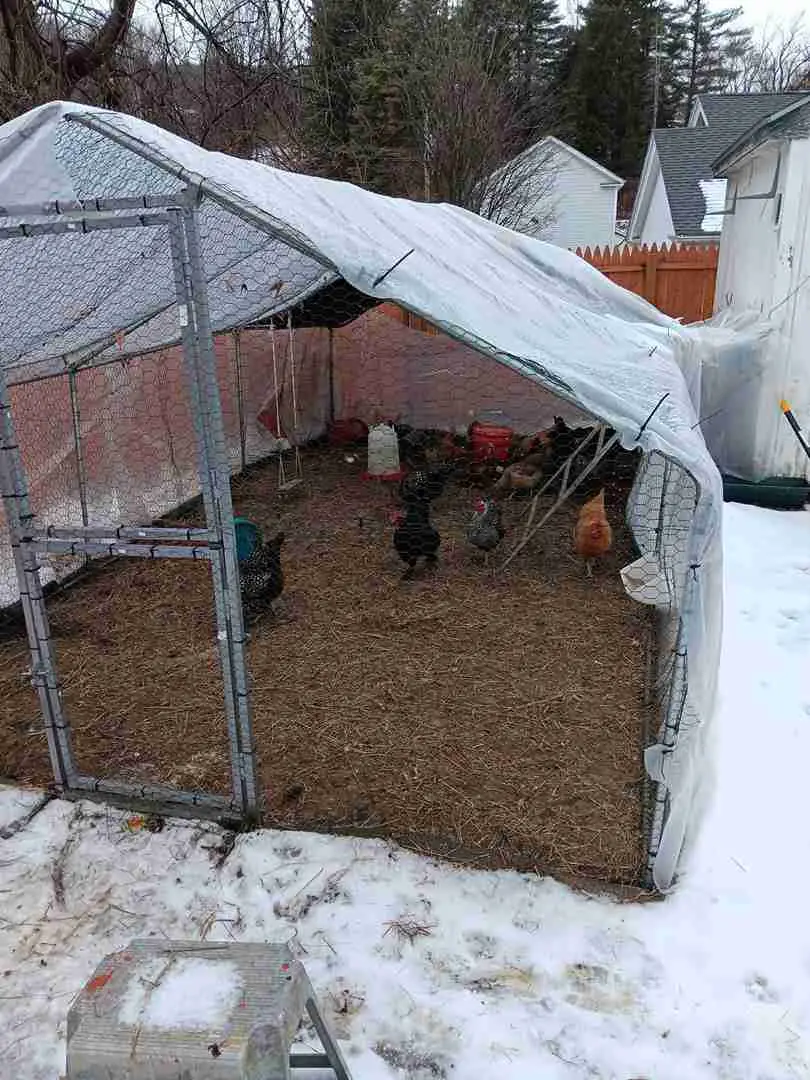
- Difficulty: Easy
- Time: 1 to 2 hours
- Budget: $40 to $80
- Materials: Heavy duty clear tarp, zip ties, and mulch bedding
- Coop: Walk in galvanized steel frame pen with chicken wire walls
- Winterized with: Clear poly tarp draped over the peaked roof and sides
- Interior detail: Hanging swing, red bucket, and a metal ladder roost
Draping a large clear tarp over the peaked metal frame sheds snow and rain quickly. Heavy zip ties secure the plastic tightly to the steel poles against strong winds.
Mulch and dry leaves cover the ground to prevent muddy, frozen puddles. Hens enjoy a hanging swing and ladder roost inside their sheltered pen.
Hanging Heated Waterer and Heat Lamp
- Difficulty: Easy
- Time: 1 hour
- Budget: $50 to $100
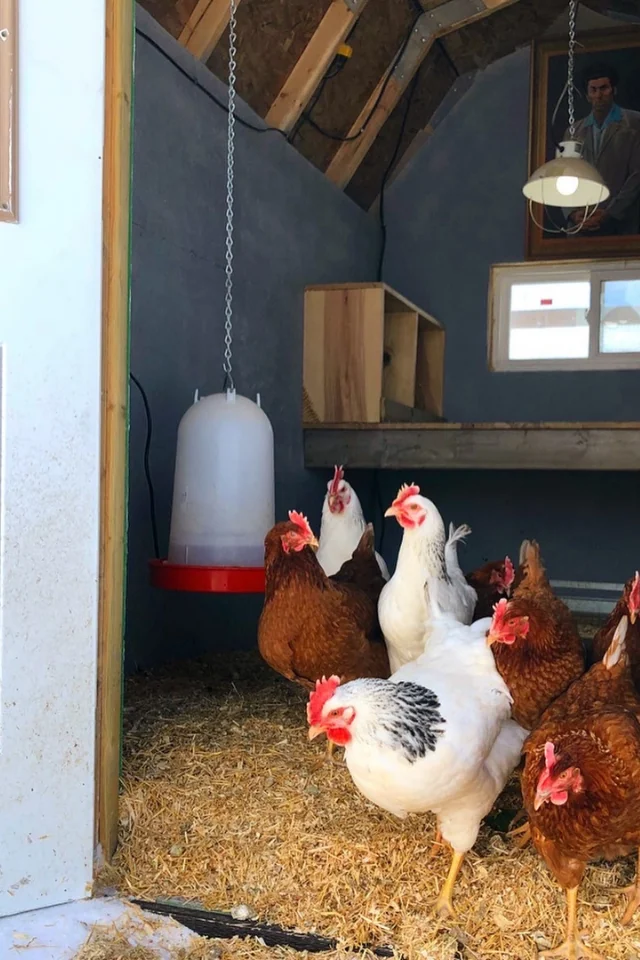
- Materials: Hanging poultry waterer, metal chain, brooder heat lamp, and straw
- Coop: Dark painted interior coop with exposed roof rafters and sliding window
- Winterized with: Suspended waterer, securely chained heat lamp, and deep straw floor
- Interior detail: Framed vintage portrait hanging on the back coop wall
Suspending the waterer from a ceiling chain keeps water clean and prevents tipping. A clamped and chained lamp directs gentle warmth toward the flock during deep freezes.
Golden straw covers the floor to cushion feet against the cold wood subfloor. A framed vintage portrait adds unexpected personality to the dark gray coop wall.
Heat source caution: A chain does not eliminate a heat lamp’s fire risk. Do not copy the installation from an image. If supplemental heat is necessary, obtain poultry-specific guidance and follow the equipment’s mounting, clearance, and electrical requirements.
Geodesic Dome Coop Wrapped in Plastic
- Difficulty: Moderate
- Time: 2 to 3 hours
- Budget: $60 to $120
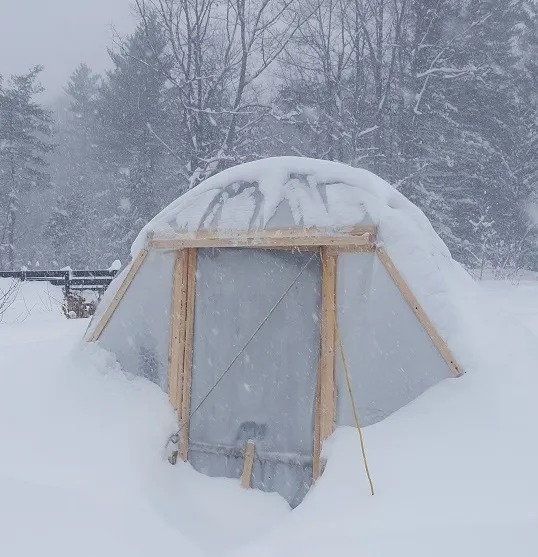
- Materials: Heavy duty greenhouse plastic, wood door framing, and staples
- Coop: Wooden geodesic dome structure with a framed entry door
- Winterized with: Full greenhouse plastic wrap insulated by surrounding snowbanks
- Exterior detail: Custom wooden storm door with diagonal wire support
Curved geodesic walls shed heavy snowfall naturally without straining the wooden frame. Thick greenhouse plastic seals every triangular panel to hold body heat inside.
Piled snow around the lower perimeter acts as extra natural insulation against cold drafts. A custom wood framed door provides easy access even during a blizzard.
Structural note: Verify the frame’s snow-load capacity rather than relying on the dome shape. Keep ventilation openings and exits clear of snow, and inspect plastic coverings after storms.
Chain Hung Waterer and Natural Roost Poles
- Difficulty: Easy
- Time: 45 minutes
- Budget: Under $25
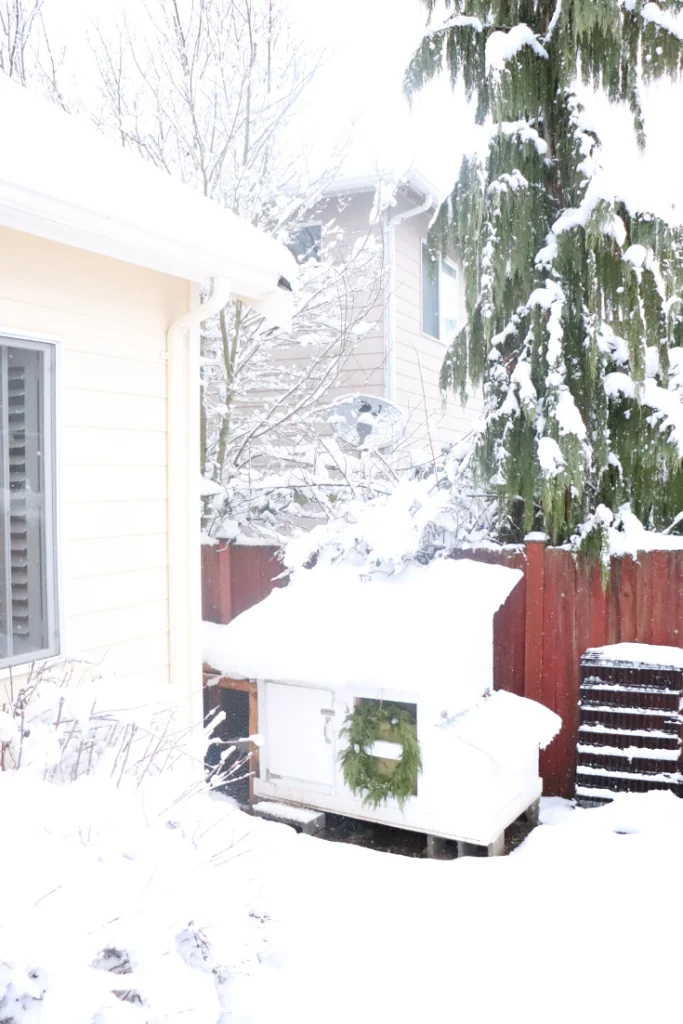
- Materials: Link chain, heavy duty poultry waterer, and natural tree branches
- Coop: Wood framed shelter with wire mesh walls and straw floor
- Winterized with: Elevated red waterer suspended by chains and dry straw bedding
- Interior detail: Sturdy raw timber roost pole mounted near the back wall
Hanging the red waterer from a metal chain keeps drinking liquid elevated above floor debris. Raw timber branches give the flock natural perches away from the cold ground.
Thick straw lines the floor to insulate bird feet from frosty drafts blowing through the wire. Several hens gather together inside the protected enclosure during a snowstorm.
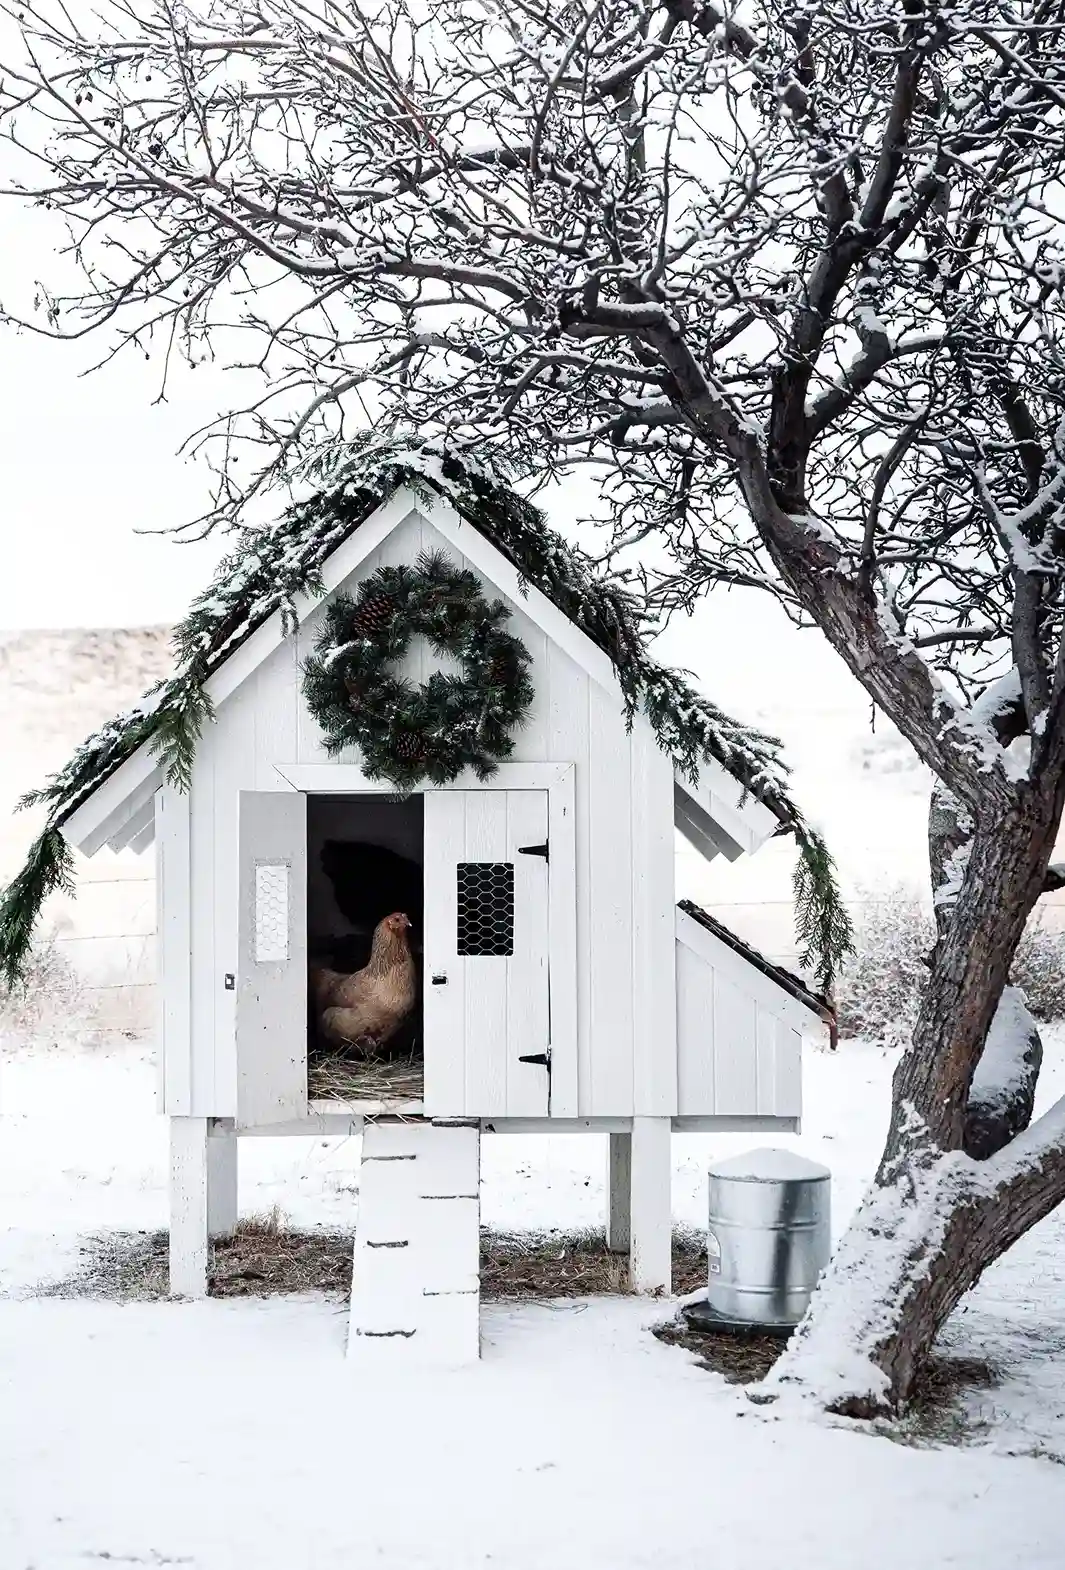
Elevated White Cottage with Evergreen Garland
- Difficulty: Moderate
- Time: 2 hours
- Budget: $40 to $80
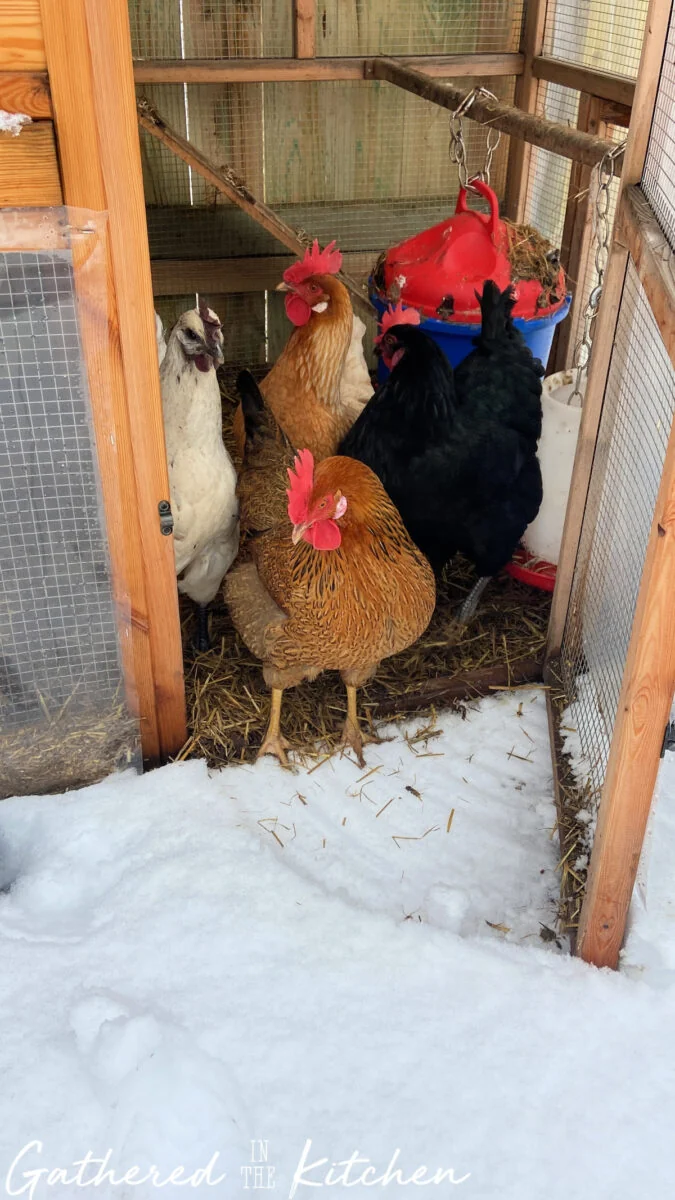
- Materials: Fresh evergreen branches, pine wreaths, screws, and metal feeder bin
- Coop: Raised white wooden cottage with a steep gable roof
- Winterized with: Evergreen garland draped across the roofline and a festive pine wreath
- Exterior detail: Covered wooden access ramp and a metal feed bucket below
Fresh evergreen boughs frame the crisp white gable roof to bring holiday cheer to the yard. A large pinecone wreath hangs centrally on the front door above the flock entry.
Elevating the wooden structure on sturdy posts keeps the main coop floor away from melting snow. A short wooden ramp helps birds climb safely into their warm sleeping quarters.
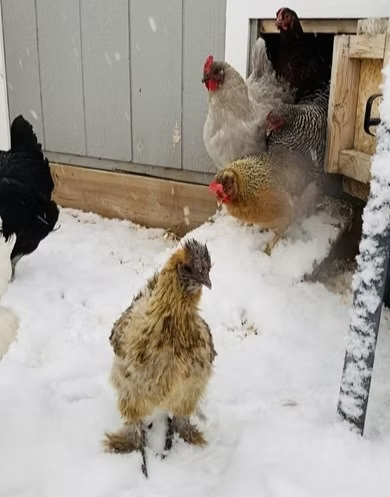
Low Profile Coop with Deep Snow Exit
- Difficulty: Easy
- Time: 30 minutes
- Budget: Under $20
- Materials: Wooden pop door and rubber threshold mat
- Coop: Low gray wooden siding structure with a small ground level opening
- Winterized with: Compact ground exit door surrounded by high snowdrifts
- Exterior detail: Fluffy feathered hens stepping directly out onto fresh white powder
Small ground level pop doors let hardy breeds step right out into the snowy yard. Light snow flurries dust the backs of curious chickens eager for morning feed.
Dark gray wood panels contrast sharply against the bright winter landscape. Close quarters help the flock share body heat efficiently during freezing nights.
Access note: Keep the doorway and return path clear after snowfall. Do not reduce recommended flock space to retain warmth, and provide a dry shelter birds can enter freely.
The Hen Den Custom Wood Sign Setup
- Difficulty: Easy
- Time: 1 hour
- Budget: Under $30
- Materials: Metal custom sign, clear plastic sheeting, staple gun, and straw
- Coop: Natural horizontal wood plank coop with a corrugated metal roof
- Winterized with: Clear plastic wrap shielding the lower wire run and a labeled sign
- Exterior detail: Decorative metal bell hanging against the backyard fence
Mounting a metal sign reading The Hen Den adds personality to the natural wood siding. Clear plastic panels protect the lower scratch area while keeping cold winds away.
Corrugated metal roofing sheds heavy snow accumulation safely off the sides. Straw bedding covers the frozen ground to provide a comfortable outdoor lounge space.
How To Choose A Winter Chicken Coop Style
Start with the structure you already have. A small wooden coop may need targeted repairs and a sheltered entrance, while an exposed walk in run may benefit from a properly secured windbreak.
Choose the practical layout before deciding on colors or decorations. You should be able to collect eggs, change water, remove bedding, and inspect the enclosure without moving ornaments or squeezing past equipment.
- For a rustic look: Work with natural wood, simple exterior signs, and sturdy wooden fittings.
- For a cottage look: Use coordinated trim, a painted door, and a small number of exterior decorations.
- For a practical farm setup: Prioritize replaceable panels, accessible storage, and equipment that is easy to clean.
- For seasonal flexibility: Consider removable windbreak panels that preserve ventilation and can be adjusted as conditions change.
Judge any clear enclosure by airflow and moisture control as well as appearance. A winter shelter still needs ventilation to release moisture and ammonia.
Decorating Tips For A Winter Chicken Coop
Use One Main Decorative Feature
A painted door, flock name board, or exterior sign can provide enough character on its own. Repeat an existing trim color to connect the detail with the coop instead of adding several unrelated decorations.
Keep Decorations Outside Working Areas
Mount decorations away from feeders, waterers, ventilation openings, and door latches. Leave walking routes clear, including the space needed to carry a full water container or wheel out dirty bedding.
Check Greenery Before Hanging It
Identify decorative plants before placing them near birds. Keep unsuitable greenery, loose wire, ribbons, and small ornaments out of reach. Wreaths and garlands are decorative features, not insulation or substitutes for weather protection.
Secure Every Addition
Check signs, planters, and hanging items after strong wind. Use suitable exterior fixings and remove anything that has loosened. Avoid fragile decorations where they could fall into the run or scatter sharp fragments.
Budget And Time Guide
Plan the project in stages: repairs first, water and bedding arrangements next, then optional decorative details. Buying trim or wreaths before checking the roof can leave the most important work unfinished.
The allowances below summarize the supplied project estimates. They assume an existing usable coop or run and exclude complete construction, major structural repairs, electrical installation, delivery, and paid labor.
| Type Of Update | Illustrative Budget | Estimated Hands-On Time |
|---|---|---|
| Small bedding or equipment adjustment | Under $25 to $40 | 30 to 60 minutes |
| Temporary windbreak or basic run covering | $40 to $100 | 1 to 3 hours |
| Seasonal exterior refresh | $30 to $120 | 1 to 3 hours |
| Rigid panel installation on an existing suitable frame | $150 to $250 | 4 to 6 hours |
Measure the area and price materials locally before committing. A larger run, damaged framing, or demanding snow-load requirements can increase both cost and installation time considerably.
- Inspect existing framing before buying covering materials.
- Allow for battens, suitable fasteners, and replacement fittings.
- Keep funds available for bedding and a spare water container.
- Schedule outdoor work before freezing conditions make repairs harder.
- Build regular inspections into the plan after installation.
Frequently Asked Questions
Can I Wrap The Entire Chicken Run In Plastic?
Plastic can help reduce wind and blowing precipitation, but it should not turn the run into a sealed enclosure. Preserve appropriate ventilation and check for condensation, damp bedding, and excessive warmth on sunny days. Secure the material to a suitable frame and inspect it after storms. The amount and placement of covering should suit the structure and local conditions rather than being copied directly from a photograph.
Do Winter Chicken Coops Need Heat Lamps?
A heat lamp is not an automatic requirement for every winter coop. Heating decisions depend on the birds, their health, and local conditions. Heat lamps also introduce fire hazards around bedding and other combustible materials. Start with dry housing, suitable airflow, protected roosts, and reliable water. If vulnerable birds need additional warmth, ask a poultry veterinarian or local extension specialist about an appropriate setup.
Will Raising A Waterer Stop It From Freezing?
Raising a waterer can help keep bedding and debris out, but elevation alone does not stop freezing. Plan for regular checks and container changes, or use a poultry waterer designed for freezing conditions with a suitable power supply. Follow the product’s temperature limits and installation instructions. Even heated equipment needs inspection, and a spare container helps when a unit freezes, fails, or needs cleaning.
Are Straw Bales Enough To Winterize A Coop?
Straw bales may form part of a windbreak, but they do not address roof leaks, frozen water, inadequate ventilation, or an unsuitable sleeping area. Position them securely without blocking doors or airflow, and monitor for dampness and pests. Keep combustible materials away from heat sources. Treat bales as one possible addition to an already suitable shelter rather than a complete winter-care solution.
How Do I Know Whether A Run Roof Can Handle Snow?
Check the manufacturer’s specifications or obtain a structural assessment appropriate to your local snow loads. A steep roof, curved dome, or taut tarp does not establish that the frame can support accumulated snow. Connections, spans, materials, and installation all matter. Inspect from a safe location after storms, keep birds away from damaged structures, and follow a safe maintenance plan rather than working beneath an overloaded roof.
Conclusion
The most useful winter chicken coop updates solve a specific problem: blowing snow, damp bedding, difficult water access, or an exposed entrance. Begin with those needs, then choose finishes and decorative details that suit the existing structure.
Keep ventilation open, check coverings after storms, and maintain clear access for both birds and daily chores. A small, carefully planned improvement can be easier to manage than a larger project rushed before a freeze.
Share these winter chicken coop ideas with friends and family who keep backyard chickens or are planning seasonal updates to their own setup.